Photo booths are back in style and are popping up everywhere from dive bars to wedding receptions. The quirky back drops and interactive photo props are a great way to commemorate evenings out with friends or important milestones such as birthdays, holidays, and anniversaries. Inspired by the retro design, Cupture took to a DIY approach and created our own photo booth. Read on to get the look!
The first step is deciding what kind of props you want to have at your booth. These can vary depending on the theme of the party. For example, if it was Halloween you might consider witches’ hats versus pacifiers which are more appropriate for a baby shower. Here is how we made our special photo booth.
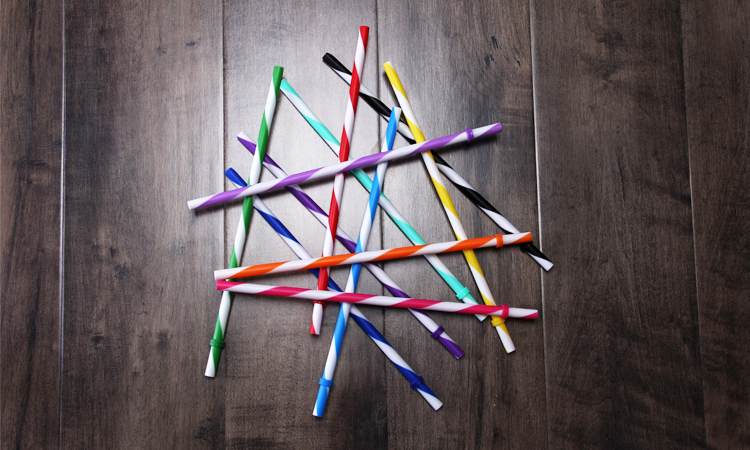
Step 1: Pick out your straws
Make sure you choose bright and fun colors to add contrast to the photos. Luckily, all of Cupture’s Stripped Straws are super vibrant and perfect for the job.
Step 2: Cut out your Props
We browsed Pinterest for a while and downloaded a pack of props for free. It was super simple and there is a ton of variety to choose from.

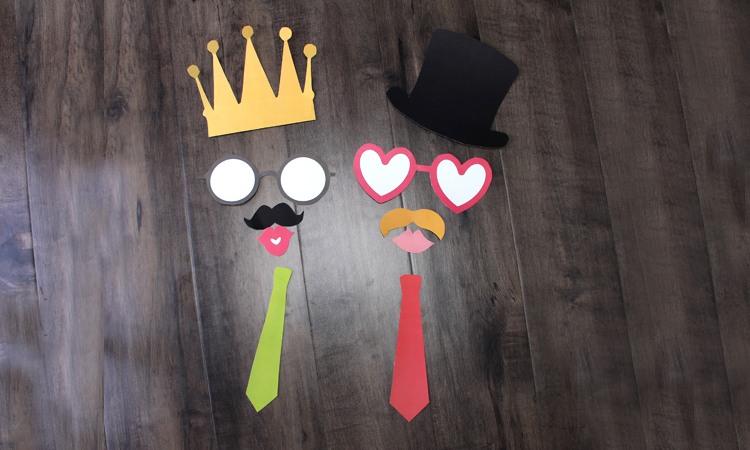
Step 3: Tape your props to the straws
Double- sided tape will be strong enough to hold cardstock. Remember not to make the pieces too big or they’ll be visible in the photos.
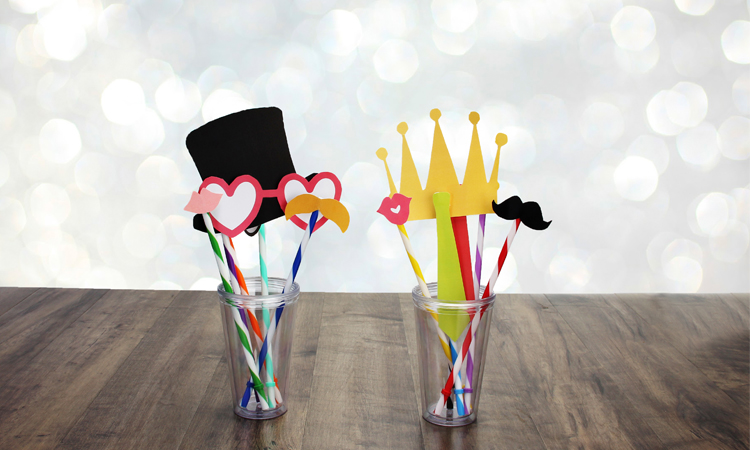
Photo booth time!
Set up your back drop with a nice neutral color that will compliment everyone’s outfit. Think about your theme and how these color can be incorporated.