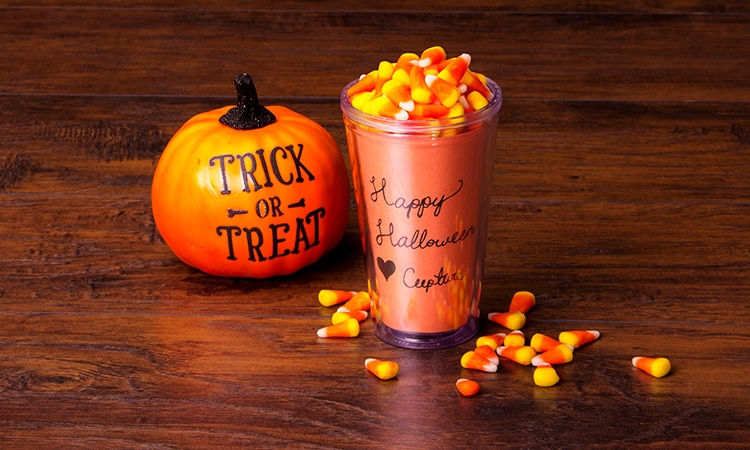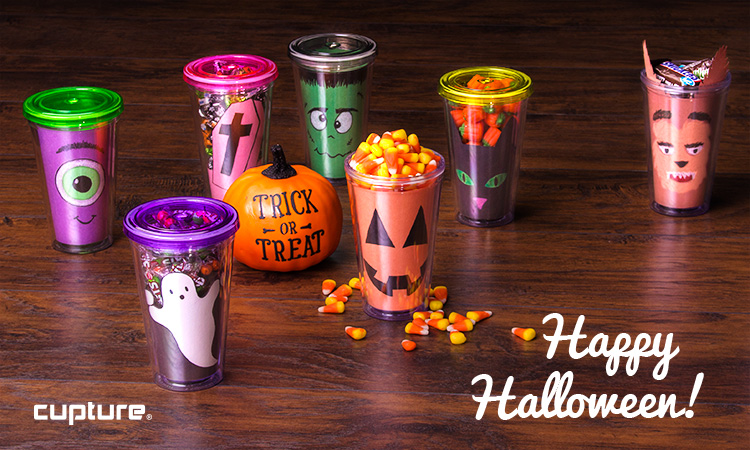
The Holiday season has kicked off with the beginning of Autumn and it's time to start dusting off those old Halloween decorations that are sitting in your garage. The Holiday season gives us the perfect excuse to show a little extra love to our friends and family. Though Halloween is already a very giving holiday ~better stock up on that candy now~ here at Cupture we like to go the extra mile for our friends and family.
This season we wanted to make little gifts for those closest to us out of our favorite Candy Tumblers! Aptly named, our Candy Tumblers are perfect for some DIY decorating and gifting. Once we have finished our crafting, we'll hopefully have some wonderfully spooky and delicious Halloween Candy Cups!
Things you'll need…
- Cupture 16 oz Insert Template
- Scissors
- Cardstock or colored construction paper
- Cupture Candy Tumblers or Cupture Classic Tumblers
- Stickers
- Sharpie
- Pencil
- Markers, paints, or any other supplies you might want to personalize your cup insert.
Ideas to get you started...
- Black Cat
- Vampire
- Frankenstein
- Pumpkin
- Ghost
- Monster
- Werewolf
- Witch
- Mummy
- Skeleton
Instructions…
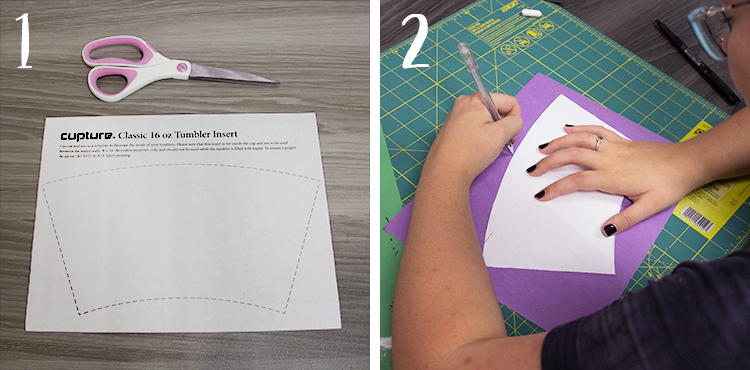
1. First start by printing and cutting out the template sheet.
2. Trace template onto colored paper.
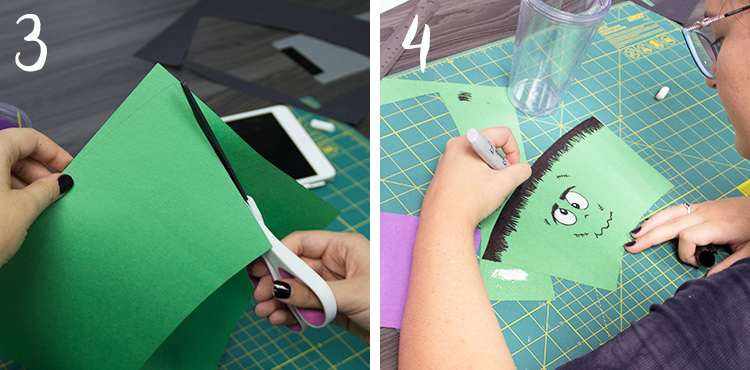
3. Cut out traced template shape.
4. Use paint, markers, colored pencils or cut paper to create perfect Halloween creatures. Make sure all paint and glue is dry and cups have been washed and cleaned before putting your creation into your cup.
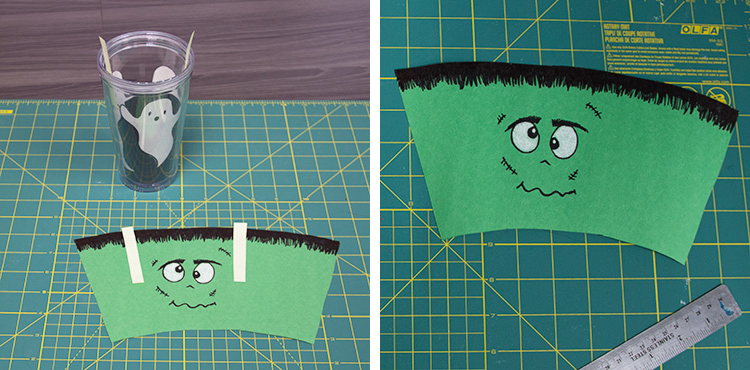
*Keep in mind that your main design should only take up about a third of the template width to be seen from the front. We marked ours with stick notes, and lightly traced the space we wanted to fill in with pencil. You can use some the of the extra space to either name your creepy crawly, sign your artwork, or even create another Spooktacular face for when you turn your cup around.
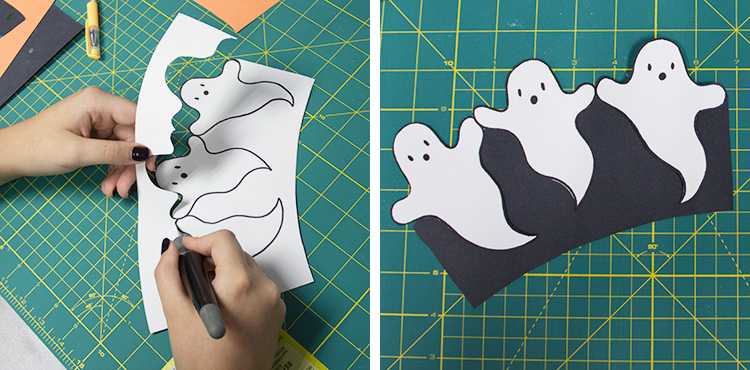
*You can also make a design that goes all the way around your tumbler, or one that uses cut out shapes to show off the candy inside.
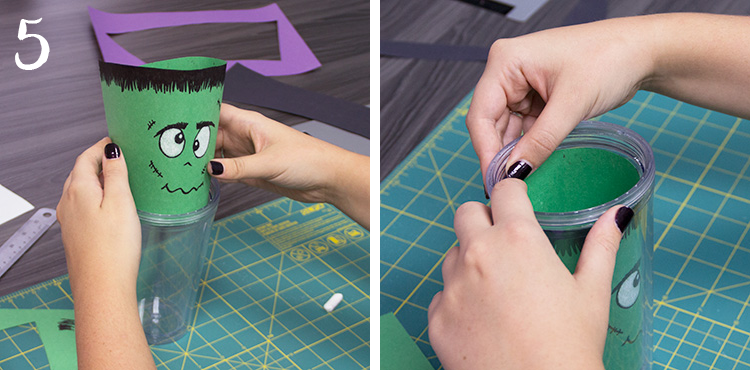
5. Gently curl your paper insert to put it into your tumbler. The ends should overlap slightly for it to fit all the way inside. Make sure the top of your insert goes down past the threading at the mouth of your cup before replacing the lid.
Once you have finished decorating your cups in all of their Halloween glory fill them with your favorite kinds of candy to give as little presents for anyone you want to show a little extra love this season. Once they have run out of candy, they can take out the paper insert and they will have a completely usable Candy Tumbler that is perfect all year round! For more DIY projects, check out our DIY section in the Cupture Blog.